How To Write A Book About Your Life: The Ultimate Guide
Published by Angel on 2025-04-01

How To Write A Book About Your Life
Have you ever imagined having a book about your life? Creating a book about your amazing life story is a journey of self-discovery and a priceless gift for future generations. Whether you want to share your adventures, lessons learned, or personal history, transforming your memories into a keepsake book is more accessible than you think. However, embarking on this journey can be a daunting task, requiring careful planning and perseverance. In this comprehensive guide, you will learn how to start writing a book about your life story using detailed steps, insights, and tips to ensure your autobiography is both engaging and meaningful. Let’s dive into this exciting adventure!
What You Will Learn
By the end of this article, you will have a clear roadmap to crafting your own life story. You’ll discover practical tips for organising your memories, choosing the right format, writing compelling narratives, and ultimately creating a beautiful keepsake book.
Here’s what we’ll cover:
1. Deciding Your Book’s Purpose: Keepsake or Publishing.
2. Planning and Outlining Your Life Story.
3. Choosing the Right Format.
4. Writing Your Autobiography.
5. Adding Photos and Home Movies.
6. Editing and Revising Your Manuscript.
7. Designing Your Book.
1. Deciding Your Book’s Purpose: Keepsake or Publishing
Personal Keepsake or Professional Publishing
Before starting, it’s essential to decide whether your book will be a personal keepsake or aimed for professional publishing. Autobiographical writing can play a crucial role in both, as it allows you to share personal experiences and life stories. For the purposes of this article, we’ll be focusing on the creation of a keepsake, but as a general overview, each route has different requirements and expectations.
Personal Keepsake:
- Focus on personal anecdotes and family history.
- Less emphasis on commercial appeal.
- More intimate and personal tone.
Professional Publishing:
- Broader appeal to a wider audience.
- Professional editing and design may be necessary.
- Marketing and distribution considerations.

2. Planning and Outlining Your Life Story
The Foundation of Your Autobiography
Before you begin writing, it’s crucial to plan and outline your life story. This foundational step provides a clear structure and ensures your book is cohesive. Planning also helps you organize your thoughts and memories, making the writing process smoother.
Steps to Outline Your Life Story
- Brainstorm Key Events
Reflect on significant moments in your life. These can include childhood memories, milestones, challenges, and triumphs. Use a mind map or a list to jot down these life events.
- Identify Themes
Look for common threads that tie your stories together. Themes could be related to family, career, love, personal growth, or specific passions.
- Create a Timeline
Organize your events chronologically or thematically. A timeline helps you see the flow of your life and how different events connect.
- Draft an Outline
Break down your timeline into chapters or sections. Each chapter should focus on a particular period or theme, making your entire life story easier to follow.
Tools and Techniques for Effective Planning
- Mind Mapping
Use pen and paper or tools like MindMeister to create a visual representation of your ideas.
- Journaling
Regularly jot down memories and thoughts to build a reservoir of content for your book.
- Interviews
Talk to family members and friends to gain different perspectives and fill in gaps in your memory.
- Personal Experience
When I started outlining my autobiography, I found it overwhelming to tackle my entire life at once. Instead, I focused on specific themes, such as my career journey and family relationships. This approach helped me create a more organized and engaging story. For example, one theme was “lessons from my career.” I began by listing pivotal moments, like my first job, major projects, and professional challenges. This not only made the process manageable but also allowed me to see connections between different experiences.
3. Choosing the Right Format
Finding Your Unique Voice
The format of your autobiography can significantly impact how your story is received. Choose a style that resonates with you and your audience. Different formats offer various ways to tell your life story, each with its strengths.
Popular Formats
- Chronological
Start from your earliest memories and progress to the present. This format is straightforward and easy to follow.
- Thematic
Focus on specific themes or periods in your life. This allows for a deeper exploration of certain aspects of your journey.
- Memoir
Highlight particular experiences or insights through a nonfiction narrative. Memoirs often focus on a specific time or event and provide a more intimate look at your thoughts and emotions.
- Interview Style
Answer questions about your life in a conversational format. This can be an engaging way to present your story and make it feel more personal.
Choosing a Narrative Style
- First Person
Writing in the first person creates a direct connection with the reader, making your story more personal and engaging.
- Third Person
While less common for autobiographies, third person can provide a unique perspective and allow for a more objective recounting of events.
- Personal Advice
Self-interviewing is basically keeping a journal, right? The most important thing you can do is give yourself time and space to write. Most writers I know train themselves to write in a constrained amount of time. For example, some people can only write for 30 minutes starting at 7 am every day, but during that time, they are as productive as someone who writes for three hours every evening. For your comfort, set up a specific time for writing and stick to it as much as possible.
- Use Video and Audio to Record Memories
If writing your life story feels daunting, you still have options. Consider making audio or video recordings to document events in your life. These recordings can be transcribed, and a writer can help turn them into a compelling narrative. Working closely with a ghost writer can be highly beneficial for creating your life story.

4. Writing Your Autobiography
Bringing Your Stories to Life
Writing your life story is the heart of the process. Be honest, vivid, and engaging. Remember, it’s your unique perspective that makes your story special. Writing can also be therapeutic, helping you process your experiences and gain new insights.
Tips for Effective Writing Process
Be Authentic
Write in your natural voice. Authenticity resonates with readers and makes your story more relatable.
Show, Don’t Tell
Use descriptive language to paint a picture. Balance showing and telling by recording the sights, sounds, smells, and textures of your memories. Instead of saying, “The dinner was nice,” describe it as, “The aroma of roasted chicken filled the room, and the soft glow of candles flickered on the table as we laughed and shared stories.”
Include Dialogue
Bring conversations to life. Dialogue can reveal character and add dynamism to your narrative. Writing the exact accurate dialogue is quite challenging, so use probable facts and sensory details to maintain the authenticity of dialogue.
Reflect
Share your thoughts and feelings about events. Reflection adds depth and allows readers to connect with your experiences on a personal level.
Practical Writing Techniques
Daily Writing
Set aside time each day to write. Consistency helps maintain momentum and keeps your story progressing.
Free Writing
Allow yourself to write without worrying about grammar or structure. This can help overcome writer’s block and uncover hidden memories. Free write daily to explore life events, capture memories, and create non-fiction narratives.
Use Prompts
Writing prompts can stimulate your memory and spark new ideas. For example: “Describe your childhood home.”, “Recall a turning point in your life.” and etc.
Exercise Idea
One exercise you might try is picking a new, discrete subject to write about for a set amount of time each day. Make the initial subjects as small as possible, thinking specifically about what you want to write about. For example, if thinking about high school graduation overwhelms you, start with a clear memory like the traffic outside the venue where graduation took place. Sit down to write about just that for thirty minutes, beginning by describing it in as much detail as you can, then go wherever your mind takes you. This way, you don’t feel overwhelmed by trying to say everything about a subject that’s too big. Plus, writing is a long process, and having a system prevents you from staring at a blank page for too long.
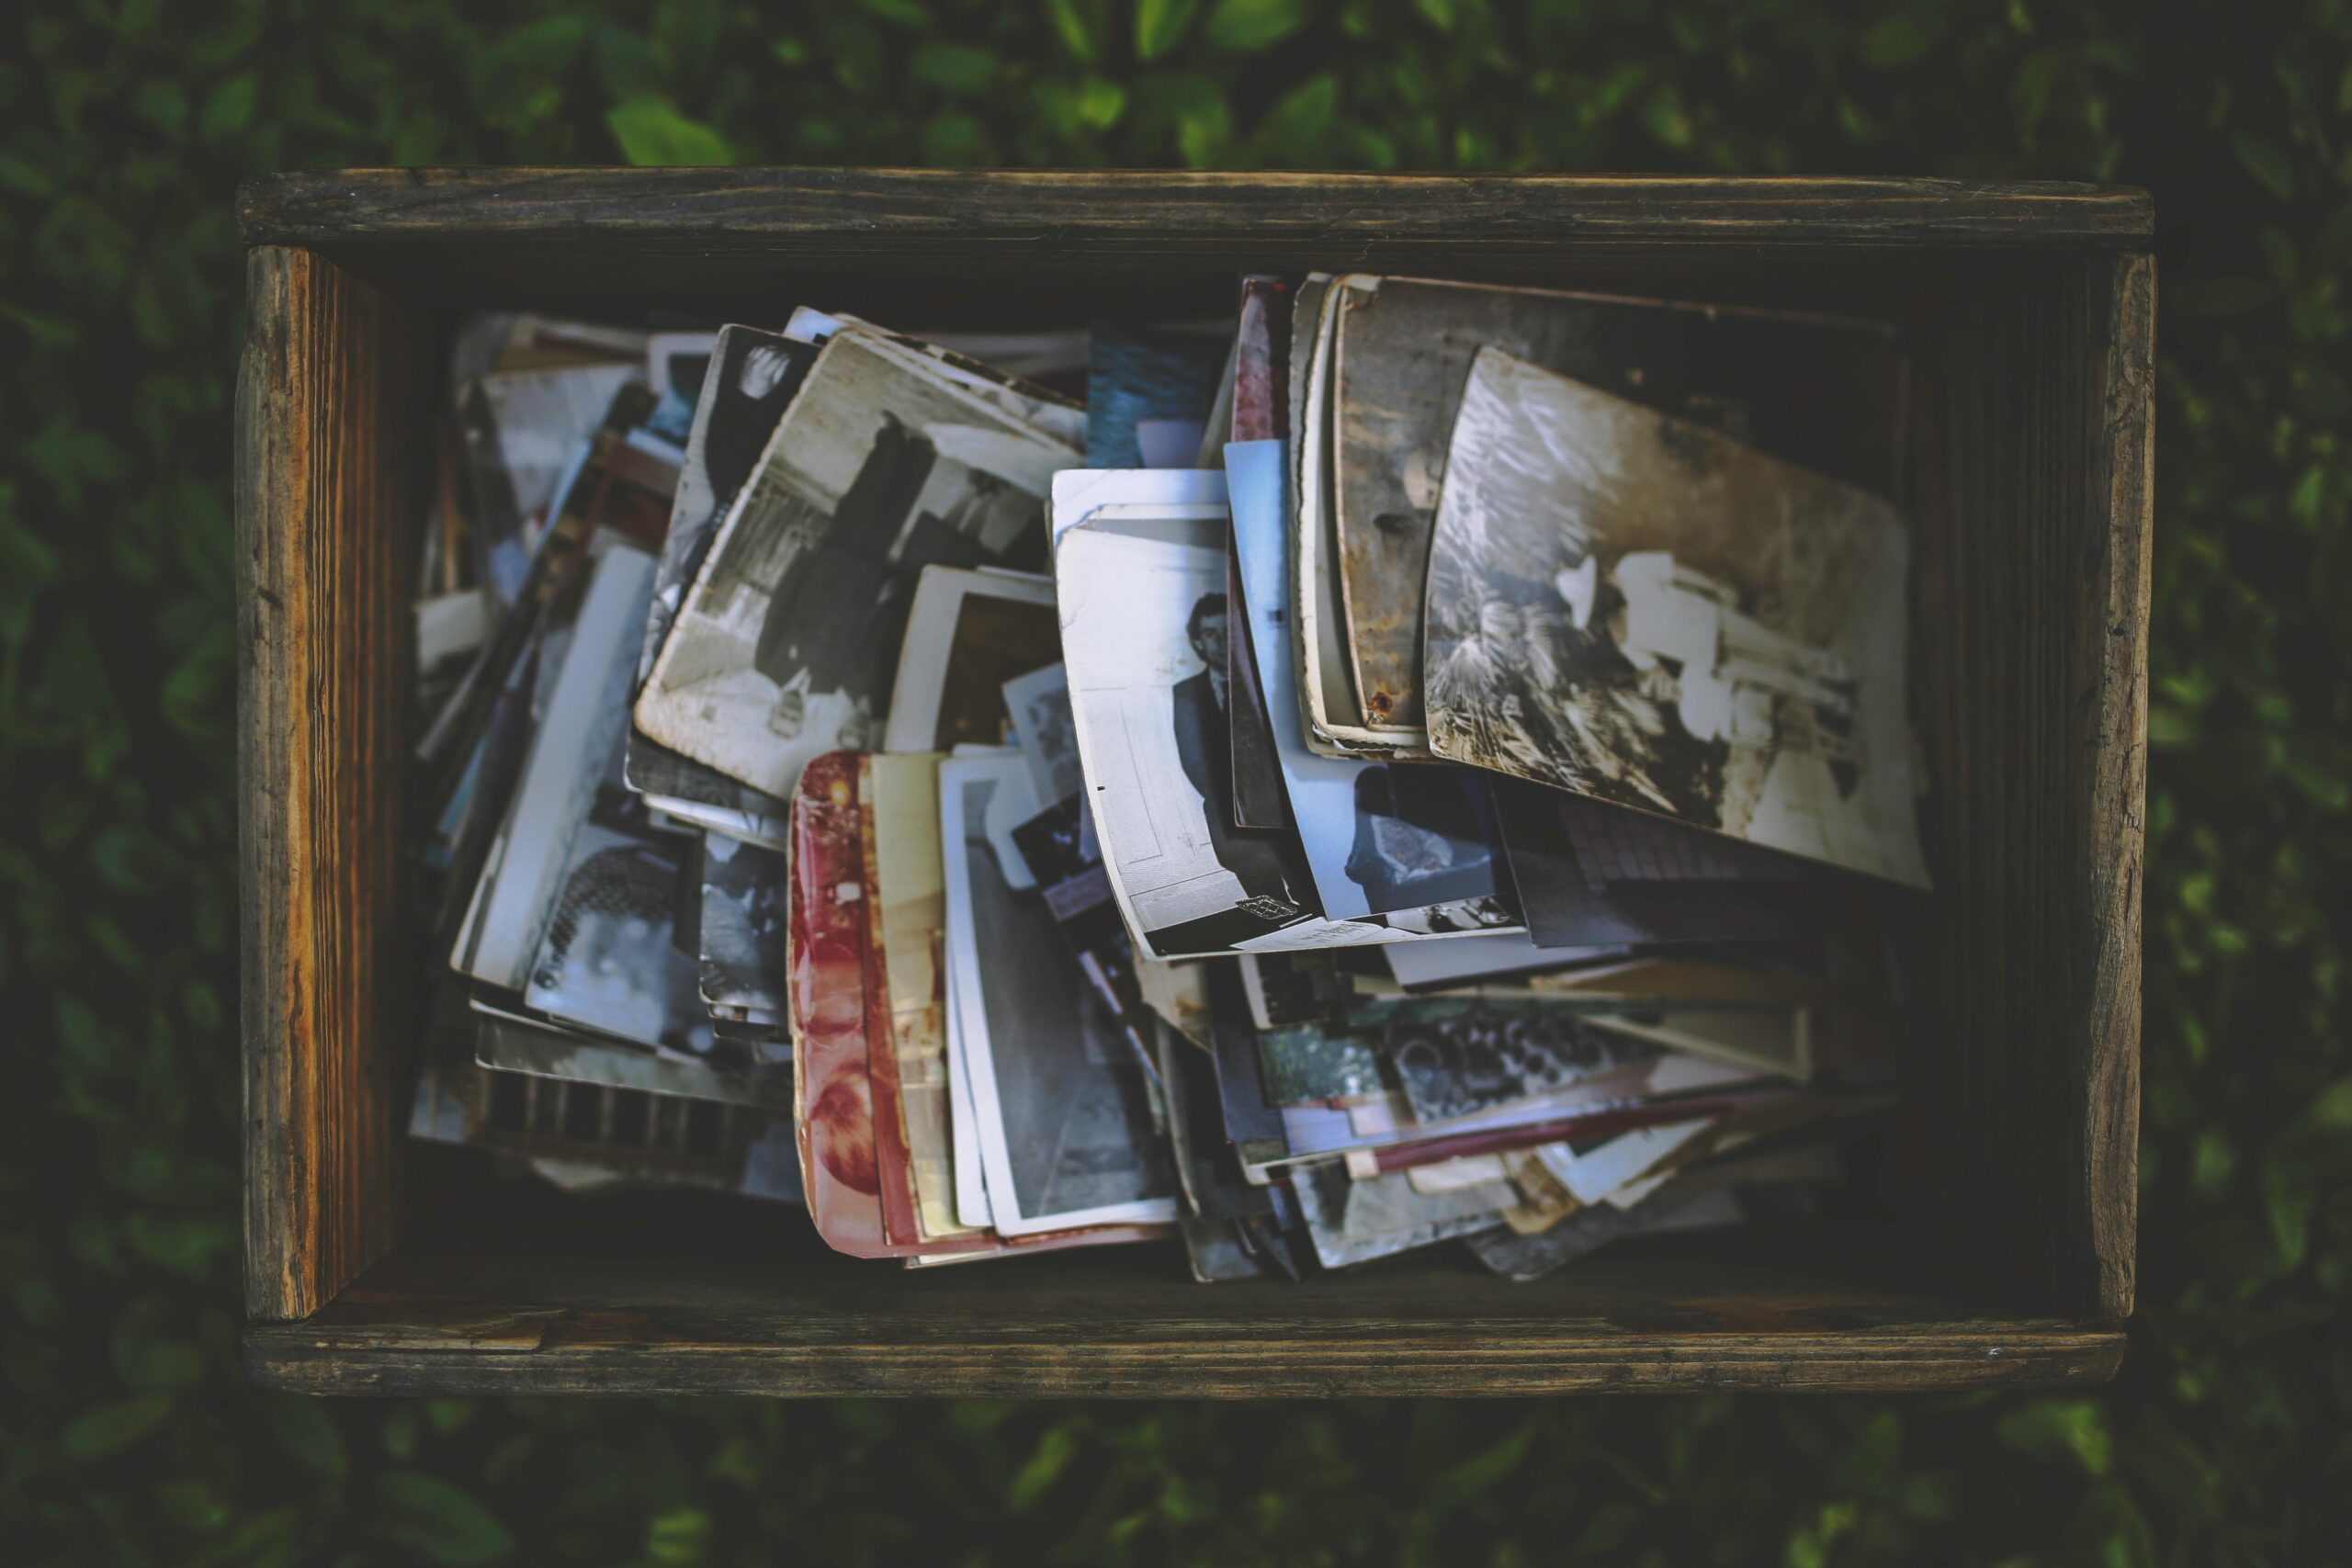
5. Adding Photos
Enriching Your Narrative
Incorporating photos into your autobiography can significantly enhance your narrative. These visuals jog your memory and provide readers with a deeper connection to your stories.
Using Photos to Trigger Memories
- Visual Details
Photos help you recall the finer details of past events—who was there, their expressions, gestures, outfits, and even the weather.
- Emotional Connection
Viewing old photos can evoke strong emotions and bring back vivid memories that enrich your writing.
Steps to Incorporate Photos
- Select Key Photos
Choose images that represent significant moments in your life.
- Describe the Scene
Use the photos to describe the scene in detail, including all sensory details.
- Reflect on the Moment
Write your thoughts and feelings about the captured moments.
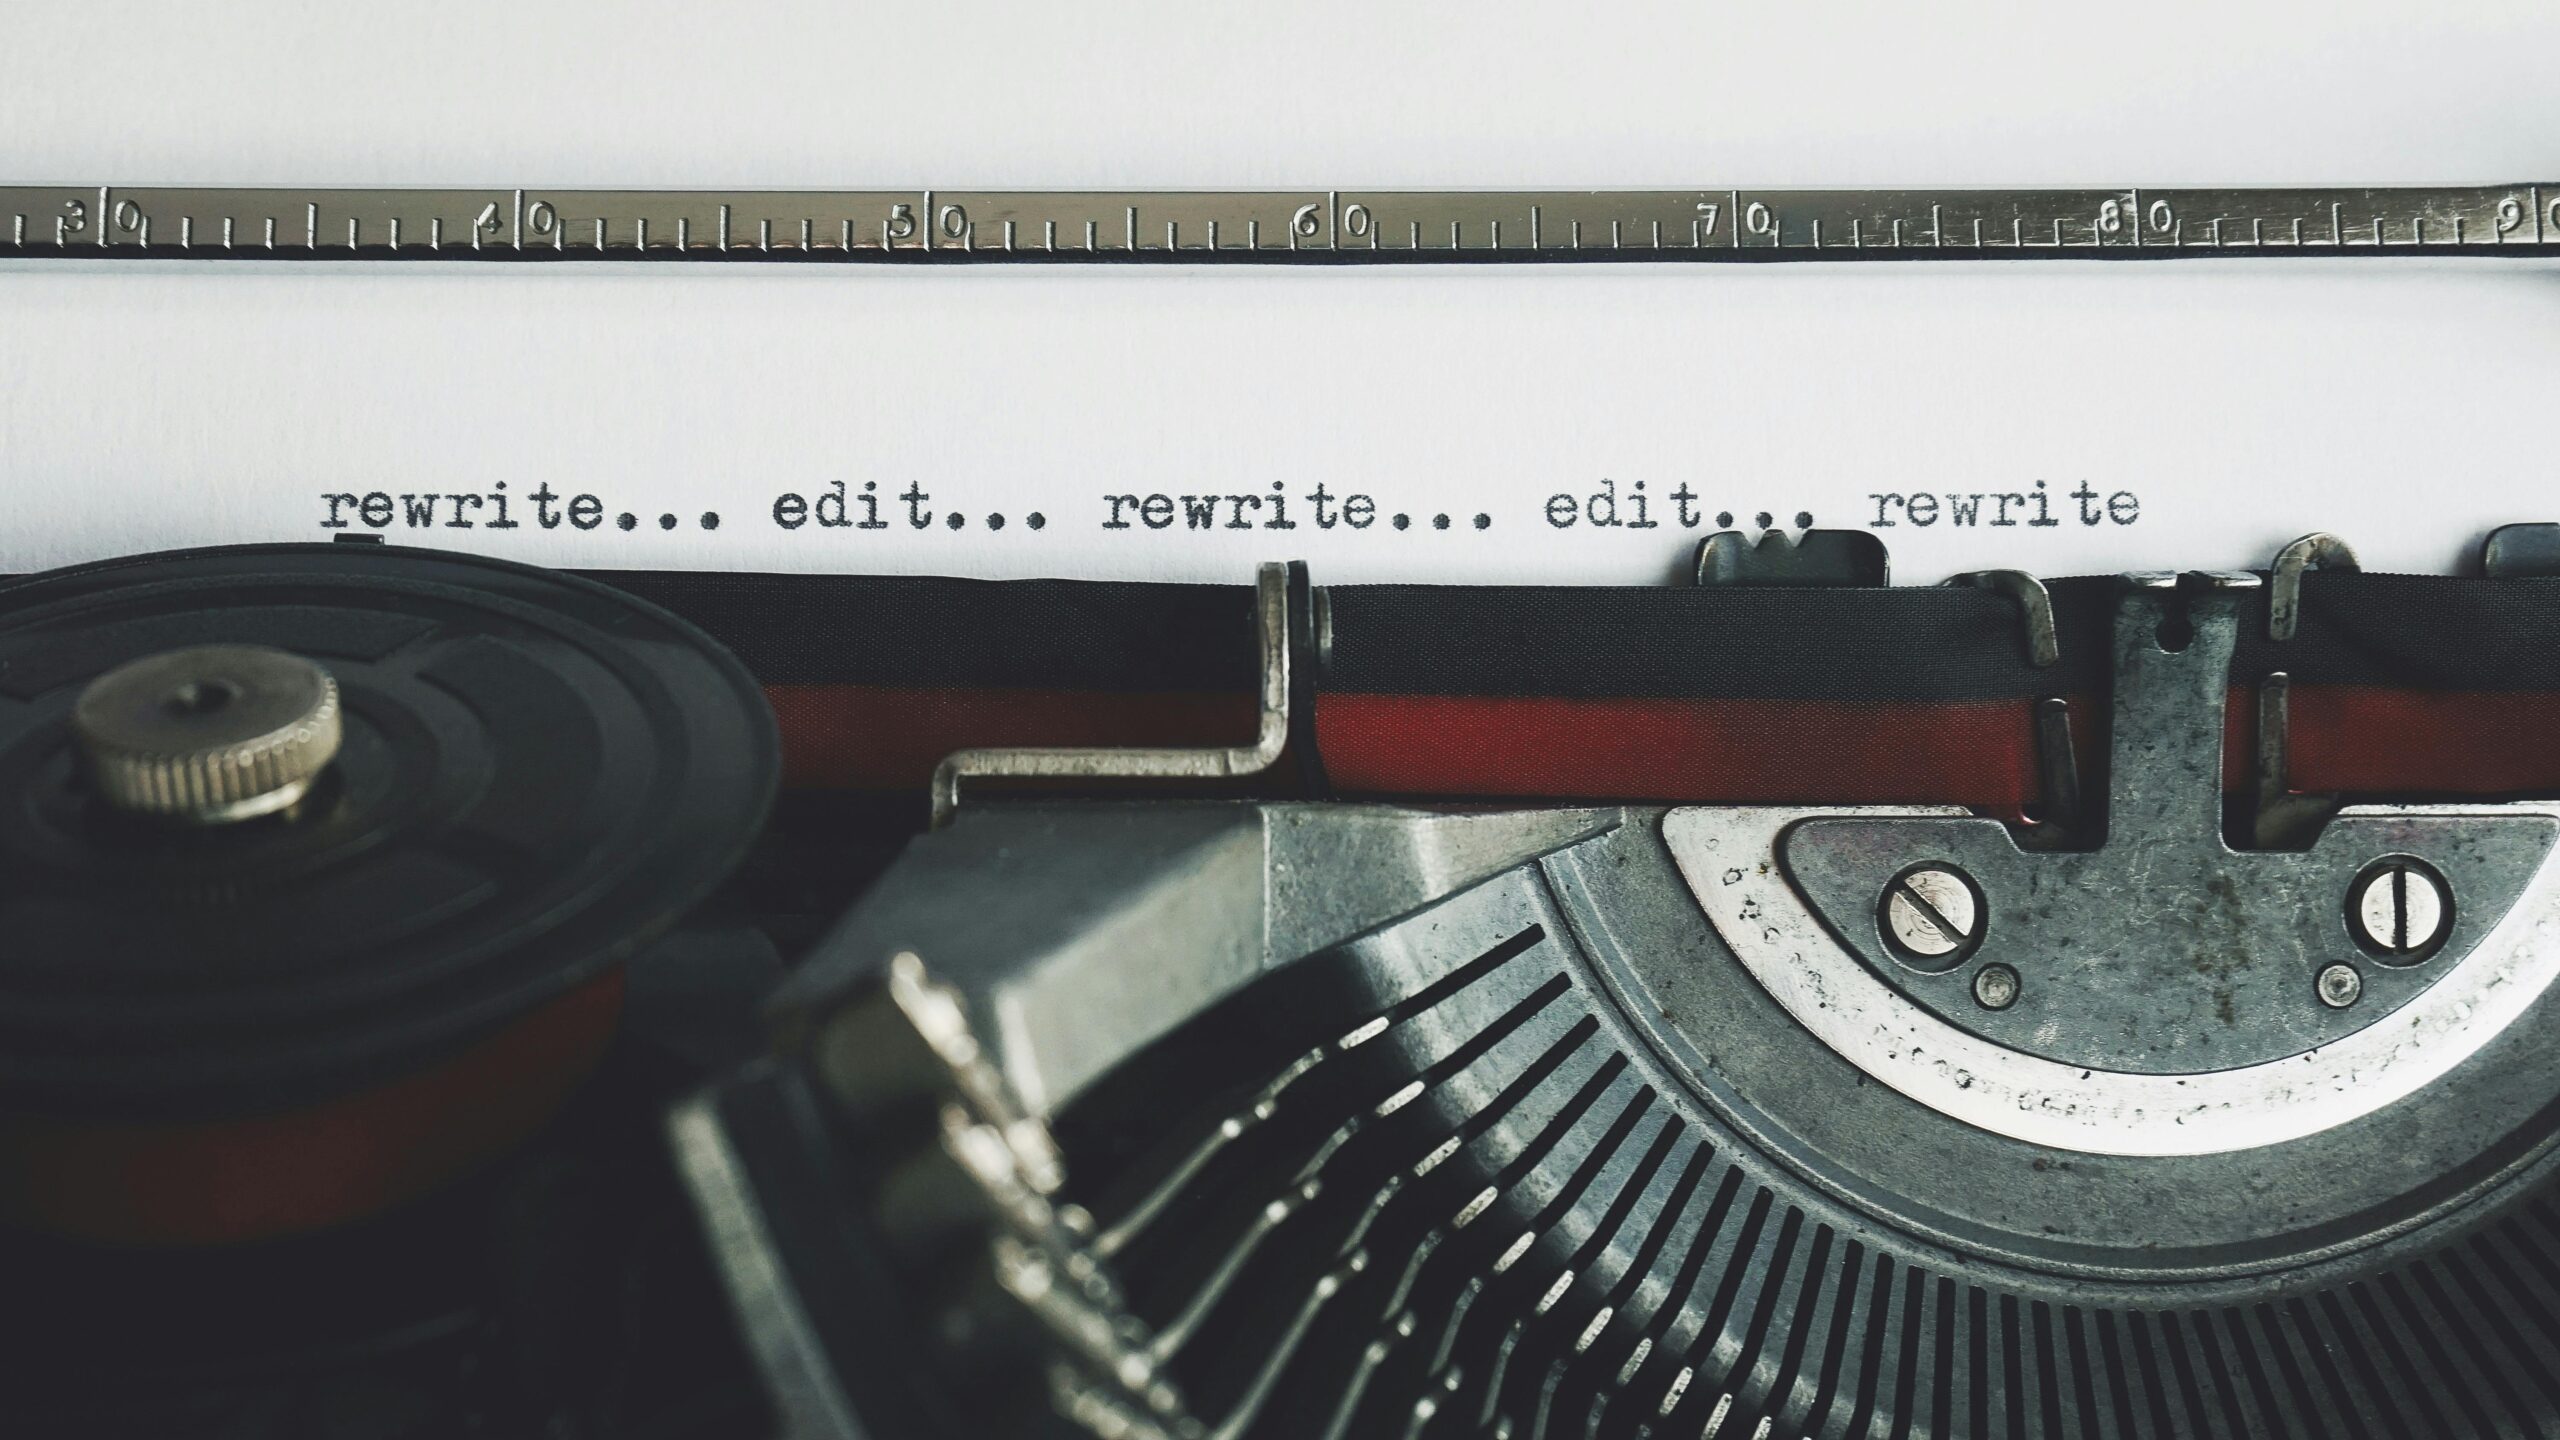
6. Editing and Revising Your Manuscript
Polishing Your Narrative
Editing is where your story truly comes together. It’s essential to review and revise your manuscript to ensure clarity and flow. Good editing enhances readability and ensures your story is engaging from start to finish.
Editing Checklist
- Grammar and Spelling
Correct any errors. Tools like Grammarly can be helpful.
- Consistency
Ensure the story flows logically. Check for consistency in dates, names, and facts.
- Clarity
Make sure your message is clear. Avoid jargon and overly complex sentences.
- Feedback
Get input from others. Fresh eyes can spot issues you might miss and offer valuable perspectives.
Stages of Editing
- Self-Editing
Begin with a thorough review of your manuscript. Look for areas that need improvement and make initial corrections.
- Peer Review
Share your draft with friends or family members for feedback.
- Professional Editing
Consider hiring a professional editor for a polished final product. They can provide expert advice on structure, style, and grammar.
Editing can be daunting, but it’s worth it. When I was editing my manuscript, I found it helpful to take breaks and return with fresh eyes. I also read sections aloud to catch awkward phrasing and ensure the narrative flowed smoothly. Don’t be afraid to make significant changes—sometimes cutting out entire sections can improve the overall story.

7. Designing Your Book
Creating a Visually Appealing Keepsake
Design plays a vital role in making your book attractive and readable. Consider both the interior layout and the cover design. A well-designed book enhances the reading experience and makes your story more memorable.
Design Tips
- Pick Relevant Fonts
Use readable fonts for the body text. Avoid overly decorative fonts that can be hard to read. Good fonts for this type of writing include Verdana, Times New Roman and more
- Spacing
Use adequate spacing between lines and paragraphs to enhance readability.
- Cover Design
Create a compelling cover that reflects your story. The cover is the first thing readers see, so make it eye-catching and relevant.
- Professional Layout
Consider hiring a designer for a polished look. Tools like Adobe InDesign or Canva can also help you create a professional layout.

8. Preserving and Sharing Your Life Story
Ensuring Longevity and Accessibility
Once your book is complete, it’s time to preserve it and share it with others. Your autobiography is a legacy that can be cherished by future generations.
Preservation Tips
- Digital Copies
Keep a digital version for easy sharing and backup. Store copies on multiple devices and cloud services.
- Print Copies
Use high-quality materials for printed books. Consider hardcover for durability.
- Distribution
Share your book with family and friends. This is one of the most gratifying parts of the process as seeing their reactions and hearing their feedback could be incredibly rewarding.
Frequently Asked Questions (FAQ)
1. How long does it take to write an autobiography?
The time it takes to write an autobiography varies depending on the complexity of your story and your writing speed. On average, it can take several months to a year. Breaking the project into manageable chunks and setting realistic deadlines can help keep you on track.
2. Do I need a professional editor?
While not mandatory, a professional editor can provide valuable feedback and help polish your manuscript. They can catch errors you might miss and offer suggestions for improving structure and style.
3. Can I include other people’s stories in my autobiography?
Yes, but it’s important to get their permission and respect their privacy. Be mindful of how you portray others and consider using pseudonyms if necessary. When writing a real life story, ensure that you accurately and truthfully depict real-life experiences.
4. How do I start writing a book about my life?
Begin with an outline and write consistently. Don’t worry about perfection in the first draft; focus on getting your personal story down on paper. Writing regularly, even in small amounts, helps build momentum.
5. How can I stay motivated throughout the writing process?
Set achievable goals, take regular breaks, and remind yourself of the purpose behind your writing. Sharing progress with friends or joining a writing group can also provide encouragement and accountability.
Summary
Starting to write a book about your life is both an exciting and fulfilling endeavor that takes you on a self-reflection journey while also preserving your legacy for future generations. By following these detailed steps—deciding your book’s purpose, planning and outlining, choosing the right format, writing, adding photos, editing, designing, and preserving—you’ll craft a compelling book that reflects your unique story. So, grab a pen, open your laptop, and start writing your life story today. What chapter will you write first?